|
This weekend another chapter was added to my pursuit of learning Appenzeller whitework. Let me introduce you to the Möggler. The Möggler is a filling stitch used in drawn thread work. As always, cutting out threads makes your fabric weaker and is therefore left till the end. In this particular case it meant that I had to finish all the Blatten areas (padded satin stitch), seeding and my Löchli (eyelets). And then disaster struck. Had I only paid head to Trish's good advice: Embroidery forever, housework whenever. I made a wrong move whilst cleaning the bathroom and since then my left shoulder has been sore. It is getting better, but I can't use my left arm for longer than about 30 mins. when stitching. Oh, pooh. 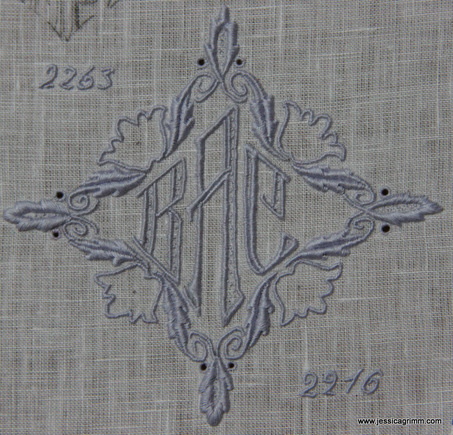 Appenzell whitework sampler This meant that the above is not perfect as I simply didn't have the time to take stitched areas out that weren't up to my usual standard. On the other hand, this is a sampler and a lot of the designs have repetitive areas. So I just strived to do better on the next element. And I can see myself progress nicely in this particular part. The other thing I had to come to terms with was the Spengen (padding). The Appenzeller way of padding is a really wild one. Or that's at least how I perceive it. For starters, there is no split stitching the contours of the element you want to pad. Then there are no neat alternating layers of satin stitches. The embroideress just bangs in stitches until she has reached a satisfactory amount of padding. In the process, she takes care to have only a minimum amount of thread on the back (this saves thread when adding the satin stitches as they have to go around less 'bulk' on the back). This was not for me. As, due to an eye condition, I live in a 2D world, I have no way of telling when this 'satisfactory amount of padding is reached' and, more importantly, if the result is even. No even amount of padding, no smooth satin stitching on top. So, I reverted back to the 'orderly' way of padding and am a much happier bunny now. 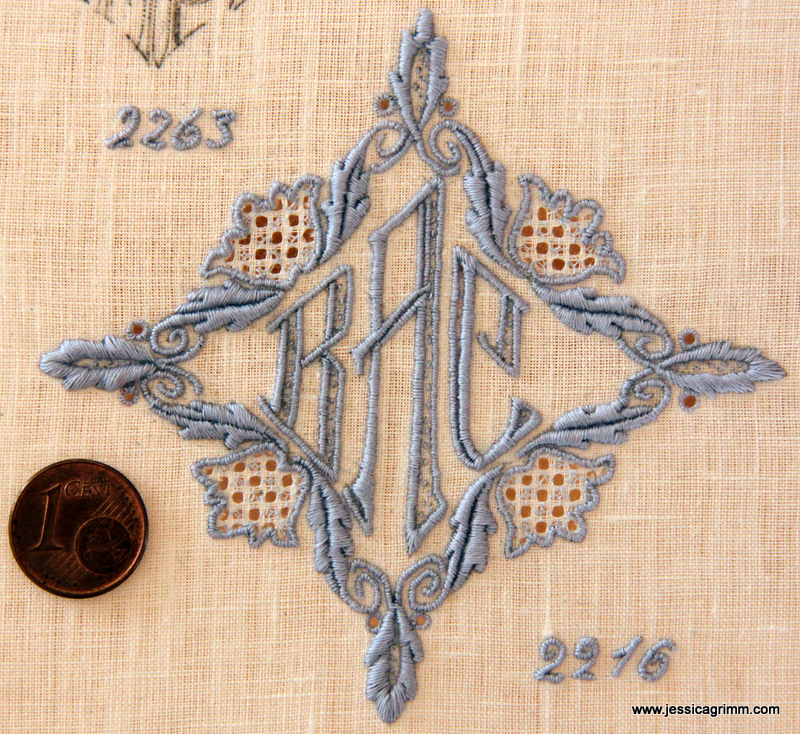 Appenzell whitework sampler What did I add? Four areas of drawn thread work in the tulip-like flower heads. For each tiny area, I cut two threads and left three threads standing. In both directions. Every other 'hole' was filled with a Möggler using a thread approximately half the thickness of the thread used for the satin stitches. As the filling area is of irregular shape, it was a bit of a puzzle to put my Möggler in. And as the final flower head was worked at the end of the day with the light fading, I will have to do it again sometime in the future. In two weeks' time, I will attend a four-day course with Verena in Appenzell. I've decided to focus more on these filling stitches. Using them in tiny irregular spaces was a big challenge as you never come into a comfortable rhythm. So next time, I will start a sampler with neat rectangles. Want to try your hand at the Möggler? Have a look at Luzine Happel's website on Schwalm embroidery. The same stitch is known as Rosenstich in Schwalm whitework and is also used in Hardanger embroidery. Here is the step by step explanation in german and in english. 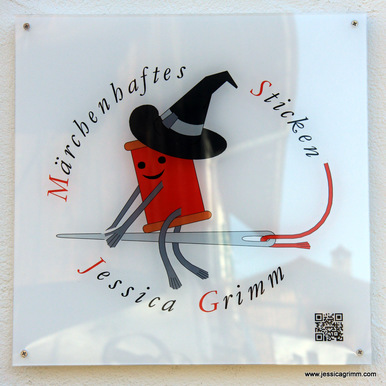 And for those of you coming to visit, you are now greeted by a shining sign. Hope to see you soon!
8 Comments
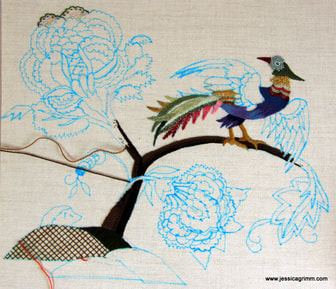
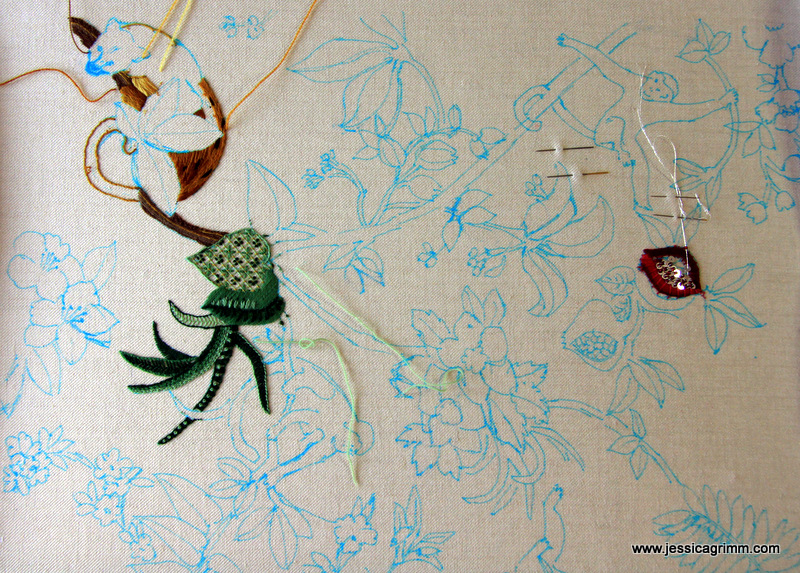
Last week saw the launch of my first five-day embroidery courses new-style. Students can either bring their own design, make one up using my extensive library of embroidery books or simply pick a ready-made design from one of those books. Equally, they can choose to work a small design in an embroidery hoop or opt for a more professional approach and use a slate frame. I've also moved away from the very formal approach of my training at the Royal School of Needlework. Good as it was, it has proven not to be suitable for copying one to one for mainland Europe. So, what did we do? 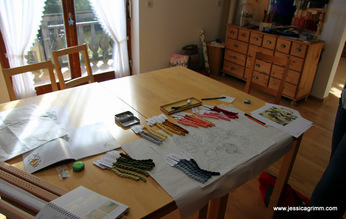 Ellen from the Netherlands decided to create a design out of pictures she had found on the internet. It works really well to copy bits of designs you like, re-group them and amalgamate them into a new design. And then the fun part comes: choosing colours. Although traditional crewel embroidery involves a woollen thread on linen, you can equally use embroidery floss, perle and the like. 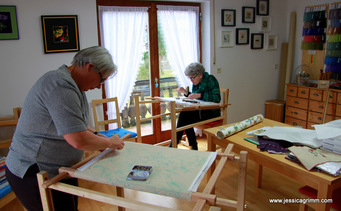 Elizabeth from Augsburg had brought with her a magnificent wall paper she wanted to recreate in stitch. An exotic jungle view with nice vivid colours. As both projects were quite big, and will last them well beyond the five days we had, they both opted to work on a slate frame. For larger projects that are not table cloths or the like, this will always be my preferred option to work with. OK, it takes some time to set up, but it will keep your fabric drum taut for a long time and give you a lovely overall stitching experience. 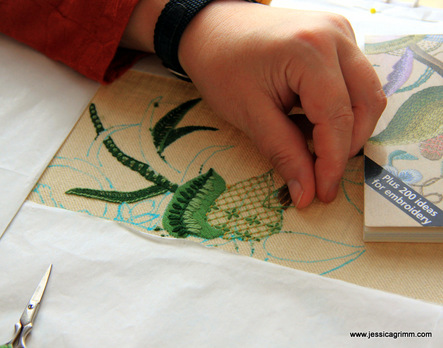 The ladies had so much fun experimenting with different stitches and colour combinations. Pomegranates with silver plated spangles and deep red beads added extra interest. As did a magnificently colourful bird with its many feathers.
And these were the results after five days of hard work, yet relaxed stitching. I think they did marvellously, don't you think? We all agreed that we could have added another week. Note: I no longer offer this course.
|

Want to keep up with my embroidery adventures? Sign up for my weekly Newsletter to get notified of new blogs, courses and workshops!
Liked my blog? Please consider making a donation or becoming a Patron so that I can keep up the good work and my blog ad-free!

Categories
All
Archives
July 2024
|

 RSS Feed
Contact: info(at)jessicagrimm.com
Copyright Dr Jessica M. Grimm - Mandlweg 3, 82488 Ettal, Deutschland - +49(0)8822 2782219 (Monday, Tuesday, Friday & Saturday 9.00-17.00 CET)
Impressum - Legal Notice - Datenschutzerklärung - Privacy Policy - Webshop ABG - Widerrufsrecht - Disclaimer
Copyright Dr Jessica M. Grimm - Mandlweg 3, 82488 Ettal, Deutschland - +49(0)8822 2782219 (Monday, Tuesday, Friday & Saturday 9.00-17.00 CET)
Impressum - Legal Notice - Datenschutzerklärung - Privacy Policy - Webshop ABG - Widerrufsrecht - Disclaimer