|
By change I stumbled upon an exhibition in a former convent of the order of the Visitation of Holy Mary: Kloster Beuerberg. As this particular order lives in strict enclosure, it is rare that you can visit one of their houses. Since the last sisters left a couple of years ago, not much has changed. The house now belongs to the diocese and they decided to, for the time being, turn it into a museum. Throughout the exhibition, you will find lovely examples of all sorts of needlework executed by the sisters. Culminating in the display of the 'Angels Ornate'. Definitely the best part of the whole exhibition were the cope, chasuble and dalmatic of the 'Angels Ornate'. Beautifully executed vestments with silk and goldwork embroidery in the most vivid colours. Although made around 1880, they still look fresh with none of the usual wear and tear. Eye candy in its purest form. I will probably visit the exhibition again as there was so much to see. They also sell fabric, used linens (monogrammed), yarn, threads, buttons etc. from the former vestment workshop.
6 Comments
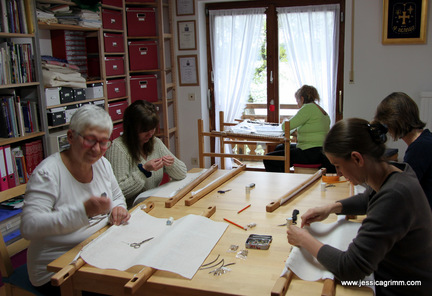
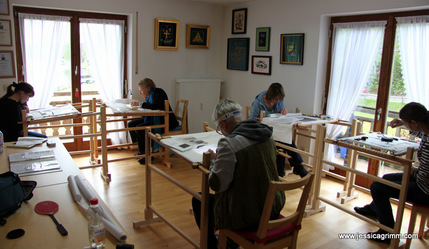
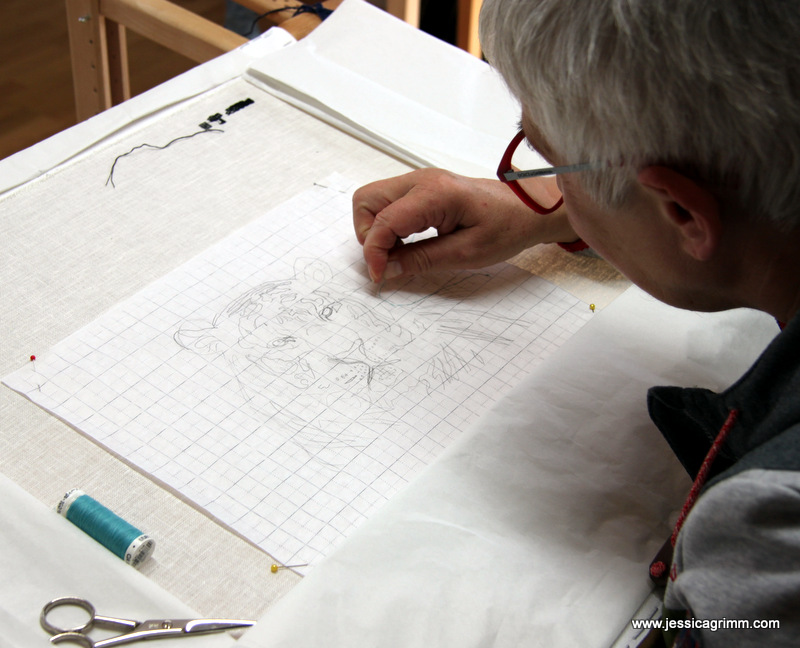
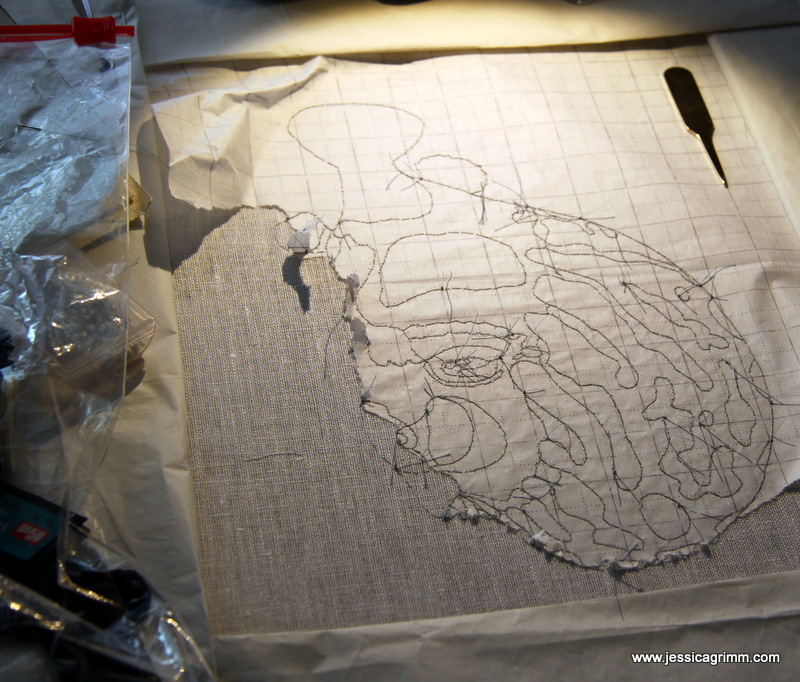
Last week, I was joined by Anja, Elena, Kristin, Mabel and Monika for a five-day blackwork embroidery course. It was great to see how people with different backgrounds got on so well with each other. It was a joy to have them around. Today, I'll give you an impression of how such a five-day course evolves and what my ladies achieved. Note: I no longer offer this course. My five-day courses are a great opportunity to try out new things and to step out of your comfort zone. You don't have to, but you are most welcome to try! So my ladies started by dressing their slate frames. As Mabel had previously attended and completed the Royal School of Needlework Certificate Course with me, she came all prepared. Soon they were all sitting at their trestles. Traditionally, a blackwork pattern is transferred onto even weave linen by the 'paper tear method'. Important pattern lines are drawn onto tissue paper, the paper is attached to the linen and then the lines are stitched using blue sewing thread. After the full pattern has been stitched on, the paper is torn away. The way blackwork embroidery is taught at the RSN has little in common with its traditional form as seen on court clothing from the 16th century. Instead, it has been transformed into an art form whereby shading is of the utmost importance. This shading is achieved by choosing the appropriate geometric blackwork patterns, thickness of the embroidery thread used and the omission of stitches from the geometric blackwork pattern. In my opinion, the whole process is not unlike that for silk shading. However, if you would like to fill a pattern from a colouring book with a variety of geometric patterns using different thread thicknesses, that's ok too! Above a slide show with the stitched results after five days of hard work. Not bad at all. And thanks to Monika, we did eat a lot of delicious cake as well!
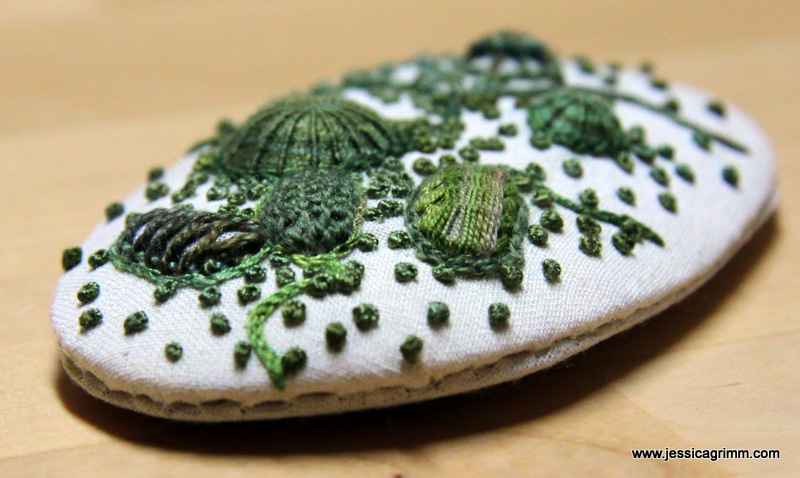
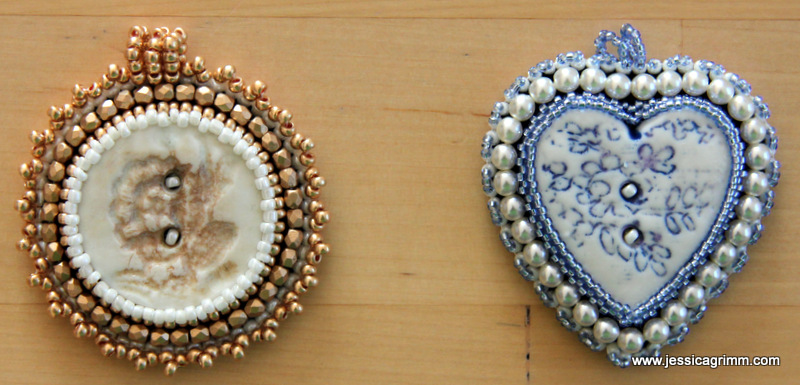
So, I am back after a very busy week with a funeral at the other end of the country and my whole family visiting for a week. To keep me sane, I did what I always do: stitch! A few years ago, I started to make small embroidered tokens to accompany the deceased or to be kept by the deceased's relatives. Often clearly Christian in nature, but sometimes more timeless and universal. Like the pebble in the picture above. Personally, I like embroidered pebbles best. Somehow, they have a funereally feel to them. How to stitch a pebble? Basically you draw two identical pebble shapes on a piece of card or, in my case, template plastic. One is covered with one layer of padding, the other with multiple layers starting with the largest at the bottom and becoming smaller towards the top. The pebble shape with the one layer of padding is covered with a piece of calico. Laced thoroughly to follow the shape of the pebble well. For the top of my pebble, I used two layers of calico. In between I trapped various items to form the 'lumps and bumps' or leeches, so you will. In this case I used three kidney beans, two beads and a stack of three buttons. Cover the whole with a myriad of surface stitches and lace it to the other padded pebble form. Sew both halves together using ladder stitch. Since it was also my mum's birthday, I finally finished the last of three bands to adorn her antique cupboard. Years ago, we saw these cute little items at the Handwerkbeurs in the Netherlands (design: Spitzenträume by UB design). I offered to stitch them as a birthday gift. After all, how hard can a silly cross stitch pattern be? Well, actually, quite a pain in the butt. It has, however, nothing to do with the pattern. It is the linen band. I've never encountered a linen that was outright unstitchable. Quite an experience for somebody who can easily count threads in linen batiste... And last, but not least: I made two more beaded pendants. These little gems are quite addictive! And besides beads, you can incorporate a myriad of other items. In this case I used ceramic buttons I bought in Greenwich years ago. This proves to show that stash is useful.
|
Want to keep up with my embroidery adventures? Sign up for my weekly Newsletter to get notified of new blogs, courses and workshops!
Liked my blog? Please consider making a donation or becoming a Patron so that I can keep up the good work and my blog ad-free!
Categories
All
Archives
July 2024
|
Contact: info(at)jessicagrimm.com
Copyright Dr Jessica M. Grimm - Mandlweg 3, 82488 Ettal, Deutschland - +49(0)8822 2782219 (Monday, Tuesday, Friday & Saturday 9.00-17.00 CET)
Impressum - Legal Notice - Datenschutzerklärung - Privacy Policy - Webshop ABG - Widerrufsrecht - Disclaimer
Copyright Dr Jessica M. Grimm - Mandlweg 3, 82488 Ettal, Deutschland - +49(0)8822 2782219 (Monday, Tuesday, Friday & Saturday 9.00-17.00 CET)
Impressum - Legal Notice - Datenschutzerklärung - Privacy Policy - Webshop ABG - Widerrufsrecht - Disclaimer




 RSS Feed