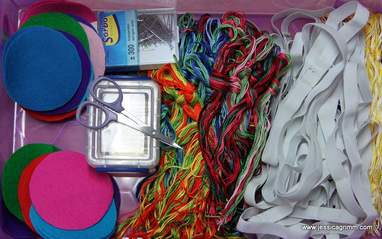
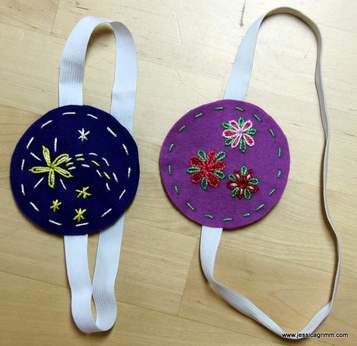
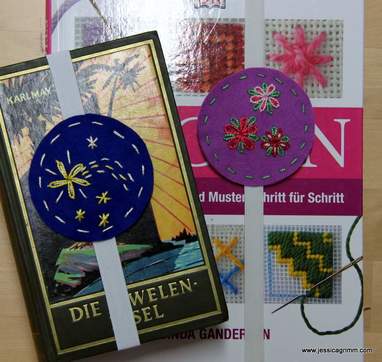
As promised in last week's post; here's the tutorial for easy peasy embroidered bookmarks. And don't be fooled. Although mine are aimed at children, grown up bookmarks are just as easy. When I let my imagination run wild, I can come up with elegant silk and goldwork bookmarks quite happily :). So what do we need? Scissors, pencil/pen, chenille needle #22, various colours of perle #5, broad (white) elastics, (wool) felt, pins and a sewing machine. Start by searching for your favourite book soon to be given its own glorious bookmark. Open it in the middle. Take the elastics and wrap it snug around the cover and half of the pages lengthwise. Head for the sewing machine. Overlap the ends of the elastics and sew together thoroughly. When you now place the bookmark lengthwise over the cover and the pages, you need to stretch it a bit. Cut two circles from the felt. I used my coffee cup as a guide and a sewline chalk pencil. Now you are ready to stitch! For the star bookmark (left) I started by stitching the large comet star. I knotted the end of a yellow perle thread and made five lazy daisy stitches to form the star. I left the knot at the back and just took care not to pierce it with my needle (children get that quite easily). Since my thread was long enough, I also stitched the central line of the tail in running stitch. Then I secured my thread by weaving it through the back of my stitching. Now I took a pale yellow thread and stitched back stitches inside my lazy daisies and between them. I also stitched both outer lines of the tail in running stitch and the little top star with three crossing straight stitches. The same for the three bottom stars, but now in bright yellow. Time to attach the felt to the elastics. Place both felt circles over the sewing spot of the elastics. Pin in place. Take a pale yellow perle thread and place the knot between the circles. Stitch the felt together with running stitch and make sure you pierce the elastic on both sides too. Hide your ending stitches on the backing felt circle only. And finished is your bookmark! For the flower power version: stitch lazy daisy flowers and fill them with backstitches in a contrasting colour. Place lazy daisy leaves in green between the petals. Need help with any of these stitches? Head over to Mary Corbet's fantastic site and have a look at her 'How to' video's! These bookmarks are really, really easy and perfect to introduce children to the magical world of embroidery. They don't need to worry about following a pattern closely, starting or ending threads in the 'right' way or fraying fabric. Just concentrate on the fun of stitching!
Do you know of other easy and cool looking embroidery projects for children? Do share your thoughts below!
0 Comments
|
Jessica M. GrimmWant to keep up with my embroidery adventures? Sign up for my weekly Newsletter and get 10% off in my webshop! Liked my blog? Please consider making a donation so that I can keep up the good work and my blog ad-free!
Categories
All
Archives
November 2019
|