|
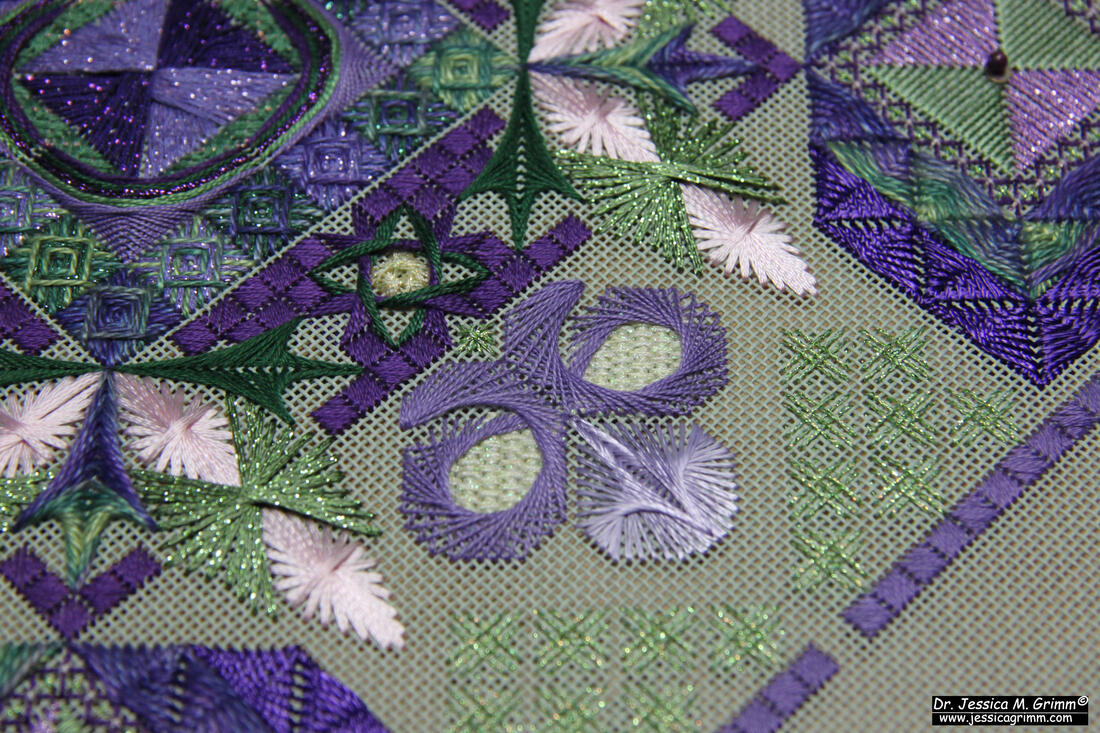
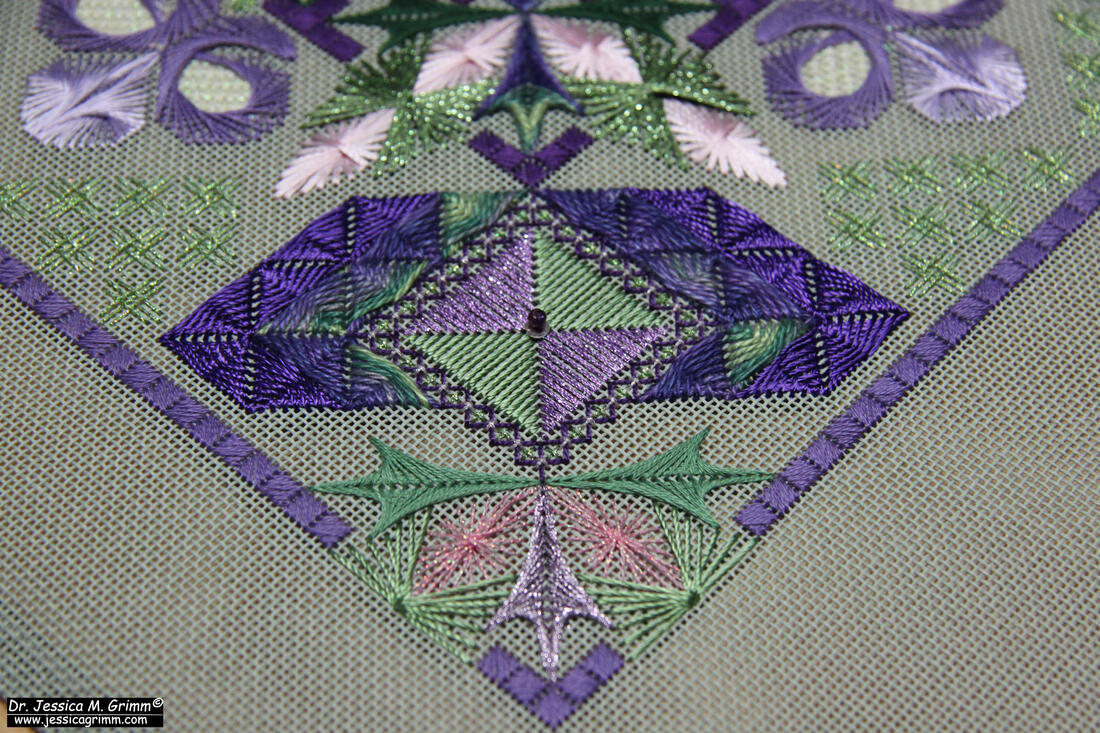
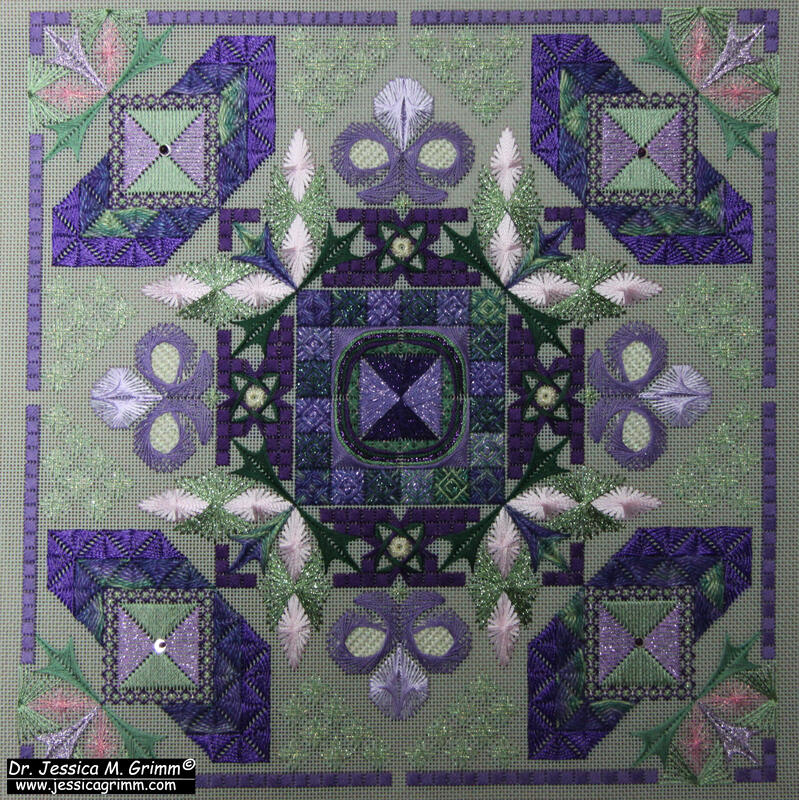
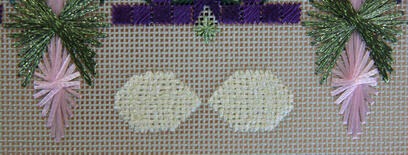
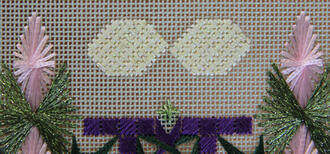
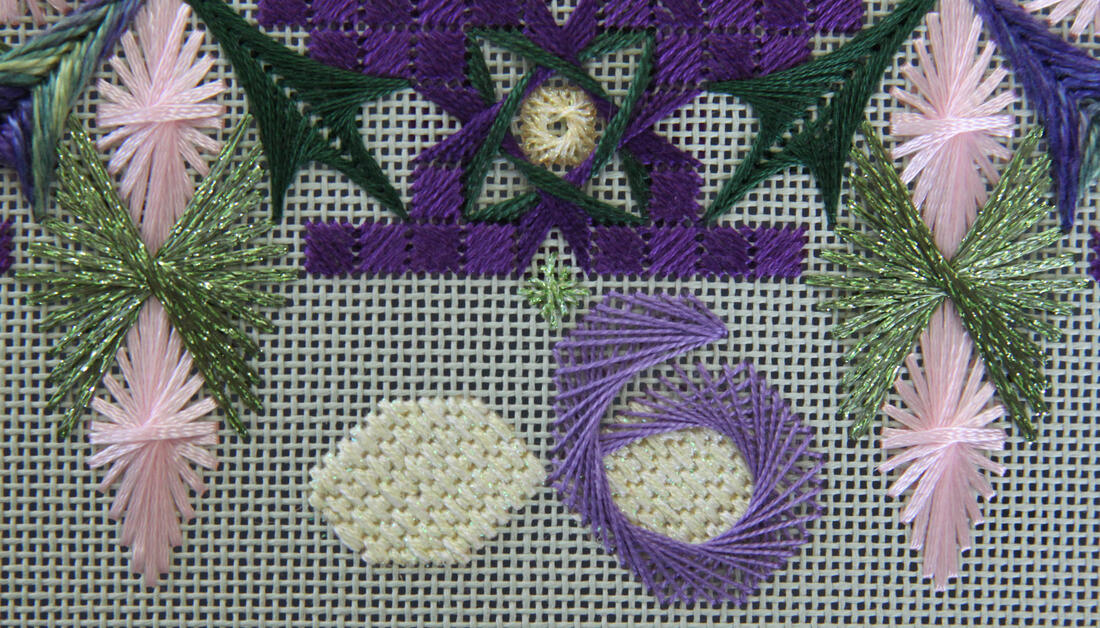
Between chasing supplies for the next online embroidery course, trying them out and processing fruit and vegetables for winter storage, I managed to finish Royal Garden by Debbie Rowley. This was originally a SAL organised by FiberTalk to promote counted canvas/needlepoint. As this is a technique not taught by the Royal School of Needlework, I was curious to try it out (NOTE: the RSN does teach canvaswork/needlepoint, but either as a shaded version using tent stitch or as a free-er version using traditional canvas stitches mainly based on satin stitch). The technique is quite popular in the US, but virtually unknown in Europe. Designs make extensive use of speciality threads. The technique is well-suited for beginners as long as the instructions are clear. As noted in my previous blog post on the project, the instructions contain a number of mistakes. Some more serious than others. I spotted one additional mistake when finishing the project. Page 41: "Begin with the silk/metallic braid, and stitch as shown in Diagram 56" (and not 55 as stated). Furthermore, the numbering in some of the diagrams is rather difficult to read as they are placed on top of each other or other elements in the drawing. As with previous parts of the design, I decided to make some changes. For the life of me, I could not execute a Chilly Hollow stitch with the threads specified. The rayon cord (Rainbow Gallery Panache) was so slippery that in order to maintain tension, I distorted the canvas and broke the centre foundation stitches. I decided to opt for simple satin stitches mimicking the shape of a Chilly Hollow stitch. Unfortunately, I had run out of the correct colour Rainbow Gallery silk lame braid. That was a major annoyance. In my opinion, kits should contain enough material so that occasional ´backwards stitching` is covered. Luckily, I had some leftover silk lame braid in a slightly different colour. In the middle, I stitched a bead on a silver-plated spangle for some added interest. Whilst I enjoyed the first part of Royal Garden (centre part, before adding the lilac crescents with a tail with the yellow teardrops), I did not particularly like stitching the rest of the design. I think some colours do not work so well with the middle part of the design. Especially the Sword Amadeus in DMC #320 are an odd choice. The colour does not really harmonise with the rest. One wonders if DMC changed the colour between when the design was created and me stitching it.
Is counted needlepoint for me? Not really. Although I liked learning new stitches, I did not like working with threads that are, if you are honest, not suitable for the job. Most of the speciality threads are made of artificial fibres. Some need ironing to get the wrinkles out or glue to stay put. That's not my cup of tea. My other problem is that most of these threads, whilst some are even made in Europe, must be ordered from the US. This makes counted needlepoint for me more expensive than goldwork embroidery. Personally, I also missed further instructional videos by Debbie Rowley or FiberTalk. It would have been nice to keep the SAL going and finish the project together. Has anybody else stitched Royal Garden? What were your experiences? Please leave a comment below!
10 Comments
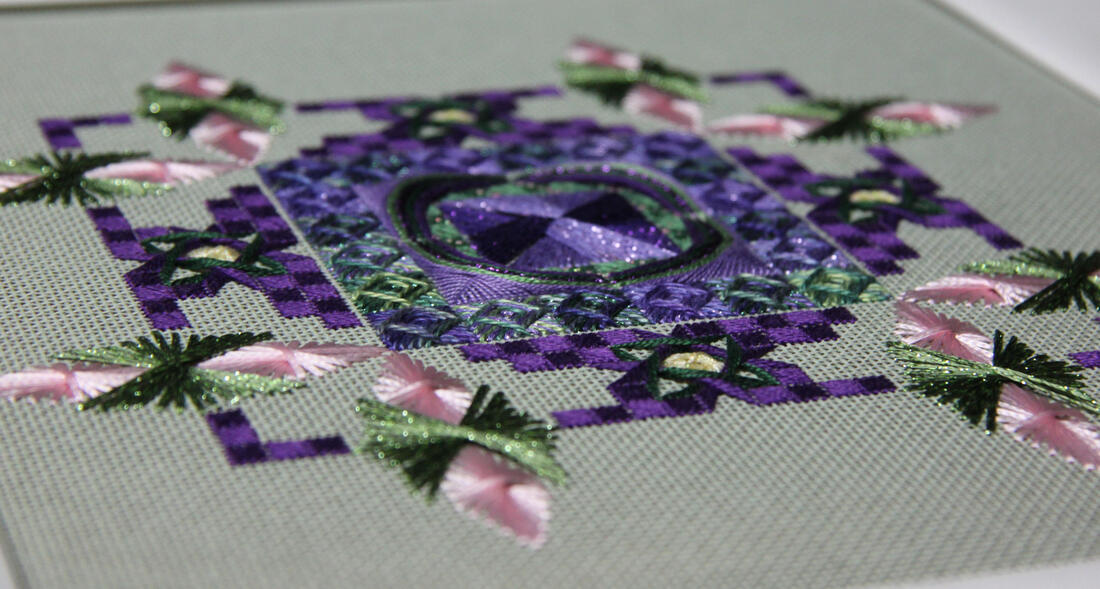
What is Royal Garden? This is a counted canvas/needlepoint design by Debbie Rowley of Debbee Designs. FiberTalk organises a SAL for it. Yesterday, saw the first live-show in which Debbie demonstrated the double fan doubles stitch. There will be future live-shows, but there doesn't seem to be a schedule for them yet. Counted needlepoint uses embroidery stitches such as: waffle stitch, walnettos, Jessicas, crescents, sword amadeus etc. to form colourful and highly textured geometric designs. You use a plethora of speciality threads like those produced by Rainbow Gallery, together with stranded cotton and perle. Counted needlepoint is huge in the USA, but not very well known in Europe. That's precisely why I joined the SAL! The embroidery technique is not very difficult as long as the instructions are well-written and clear. And Debbie's instructions are. However, I did stumble upon a few mistakes. I've pointed them out to Debbie and she has corrected them in her master-copy. Future instruction booklets will be updated. However, if you already own a copy, you might benefit from knowing what these mistakes are: - on page 5, the before last sentence should read: 'Bring the needle up one hole above 5 and park the needle on top of the canvas.' - on the master chart, there are two blocks of reverse Scotch stitches missing on the right-hand side just right of the waffle stitches. - the numbering in Diagram 31 on page 22 is partly illegible. If you email Debbie (address on the instruction booklet) she will happily mail a correct diagram to you. It was all plain sailing until I hit the weaving on page 32 :). I just could not get it to look pretty. And my hands hurt a great deal after working only one side. Asking Debbie for help during the live-show did provide me with some helpful tips on how to manage this stitch, but I kept struggling. As one of the points of advice was to perhaps change the stitch, I decided to do just that. To keep a bit of a 'woven look', I opted for condensed Scotch stitch. It worked a treat! If you would like to swap the woven filling stitch for the Condensed Scotch stitch, I think you will be able to use the above photograph for stitch placement.
Who else is joining in with the Royal Garden fun? |
Want to keep up with my embroidery adventures? Sign up for my weekly Newsletter to get notified of new blogs, courses and workshops!
Liked my blog? Please consider making a donation or becoming a Patron so that I can keep up the good work and my blog ad-free!
Categories
All
Archives
July 2024
|
Contact: info(at)jessicagrimm.com
Copyright Dr Jessica M. Grimm - Mandlweg 3, 82488 Ettal, Deutschland - +49(0)8822 2782219 (Monday, Tuesday, Friday & Saturday 9.00-17.00 CET)
Impressum - Legal Notice - Datenschutzerklärung - Privacy Policy - Webshop ABG - Widerrufsrecht - Disclaimer
Copyright Dr Jessica M. Grimm - Mandlweg 3, 82488 Ettal, Deutschland - +49(0)8822 2782219 (Monday, Tuesday, Friday & Saturday 9.00-17.00 CET)
Impressum - Legal Notice - Datenschutzerklärung - Privacy Policy - Webshop ABG - Widerrufsrecht - Disclaimer



 RSS Feed