|
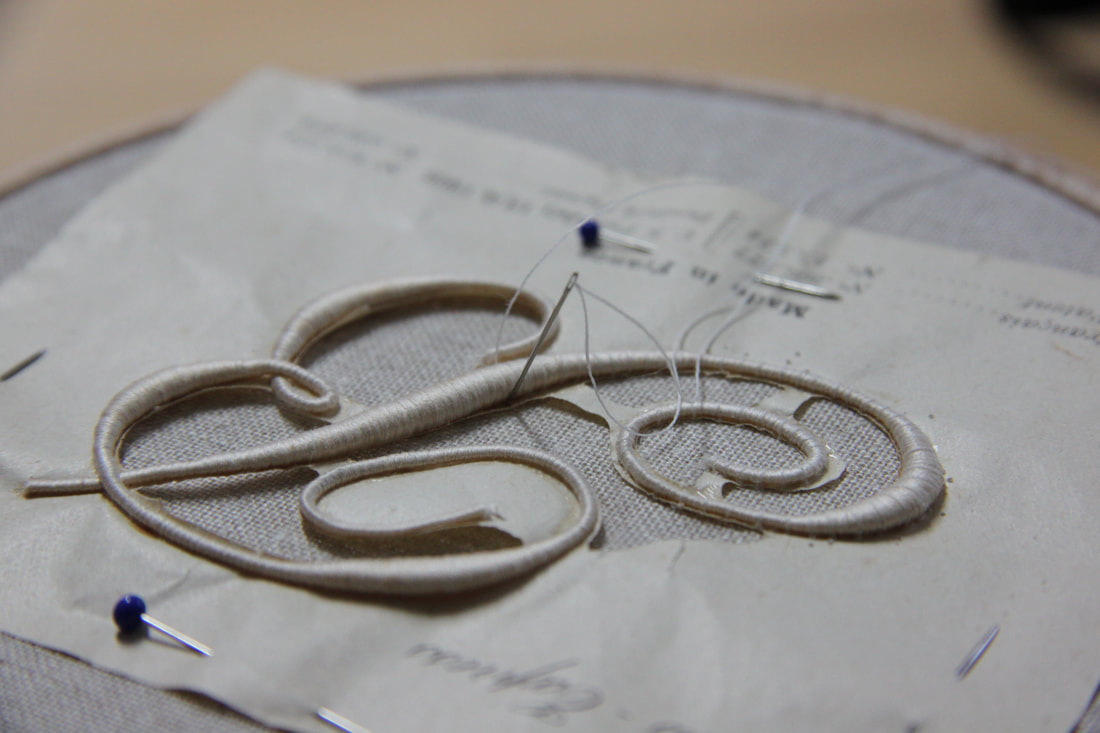
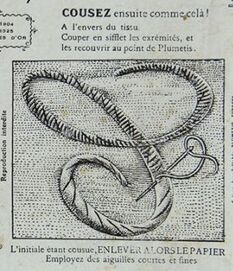
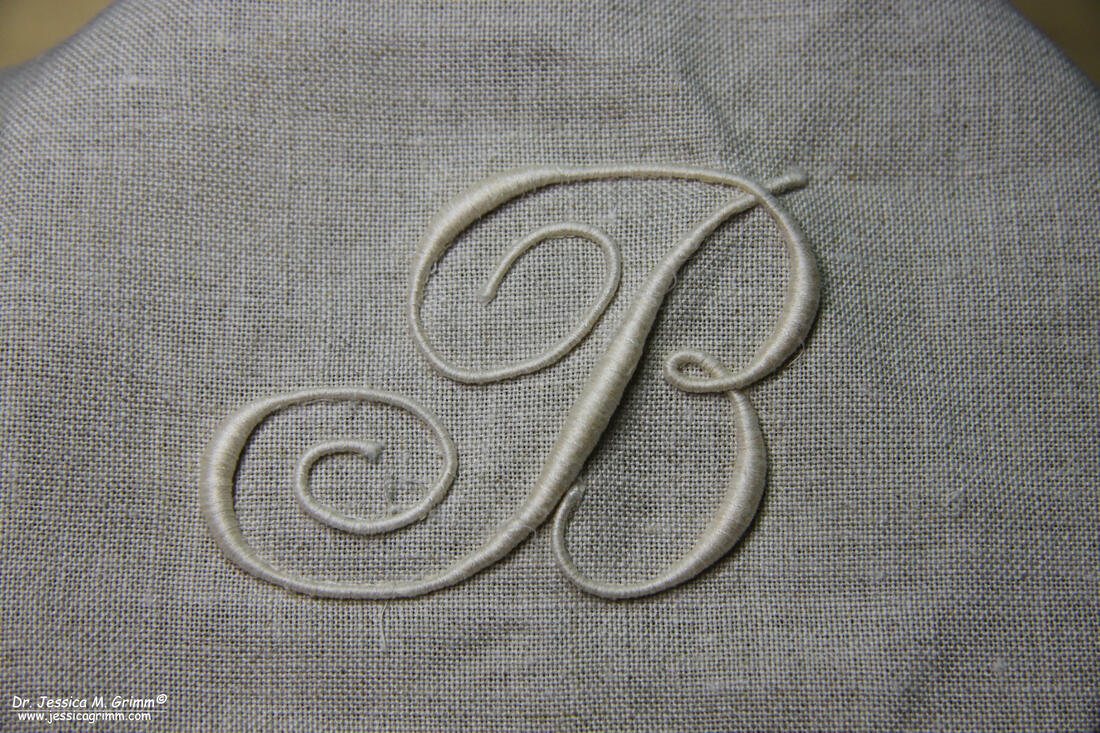
My parents love to go to flea markets! My dad searches for postcards and letters written by World War I soldiers and my mum finds all sorts of lovely vintage stuff and the occasional ceramics. But more importantly, they come across needlework! And their latest find is this: 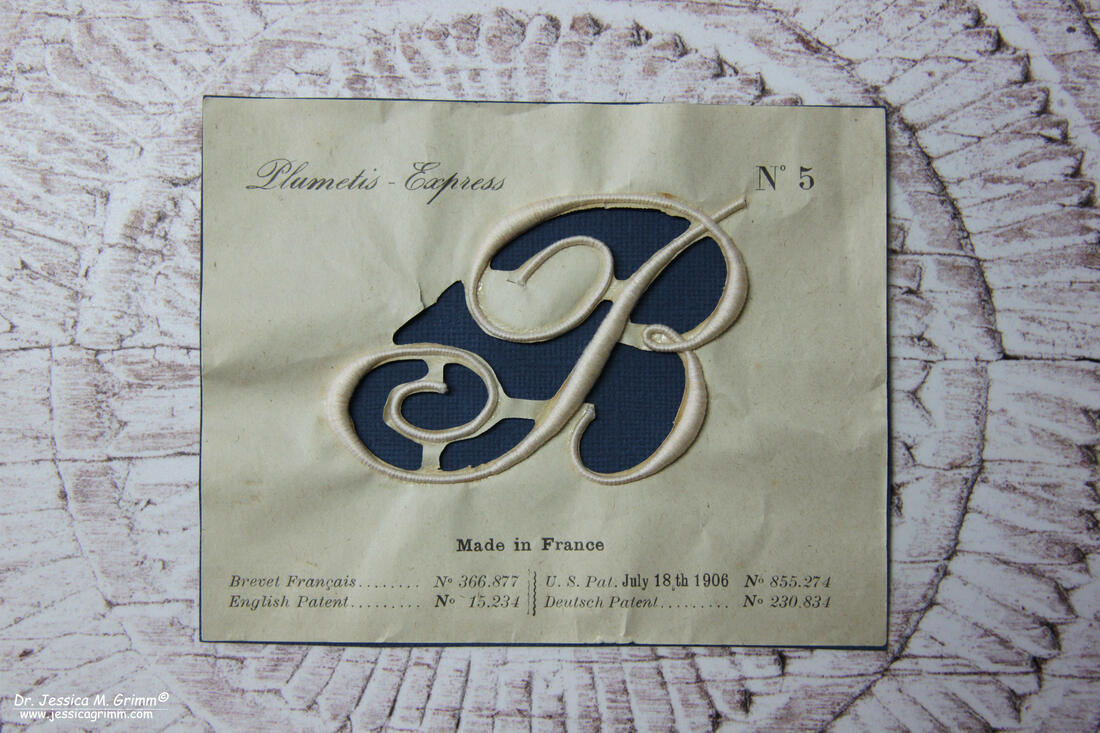 Plumetis Express Monogram It is a "B" monogram made with very fine shiny cotton thread. The monogram is glued onto an ordinary light weight backing paper (the thicker blue card glued to the original paper has nothing to do with it). It is stated on the paper that the monogram was made in France and patented in France, England, the US and Germany. The date for the US patent is July 18th 1906. I had never encountered them before, but a quick search for 'Plumetis Express" on Google will show you that these vintage monograms can be had a plenty. I and my mum were immediately intrigued, but quite unsure how these monograms worked. Plumetis Express could be translated as "Quick Satin Stitch". 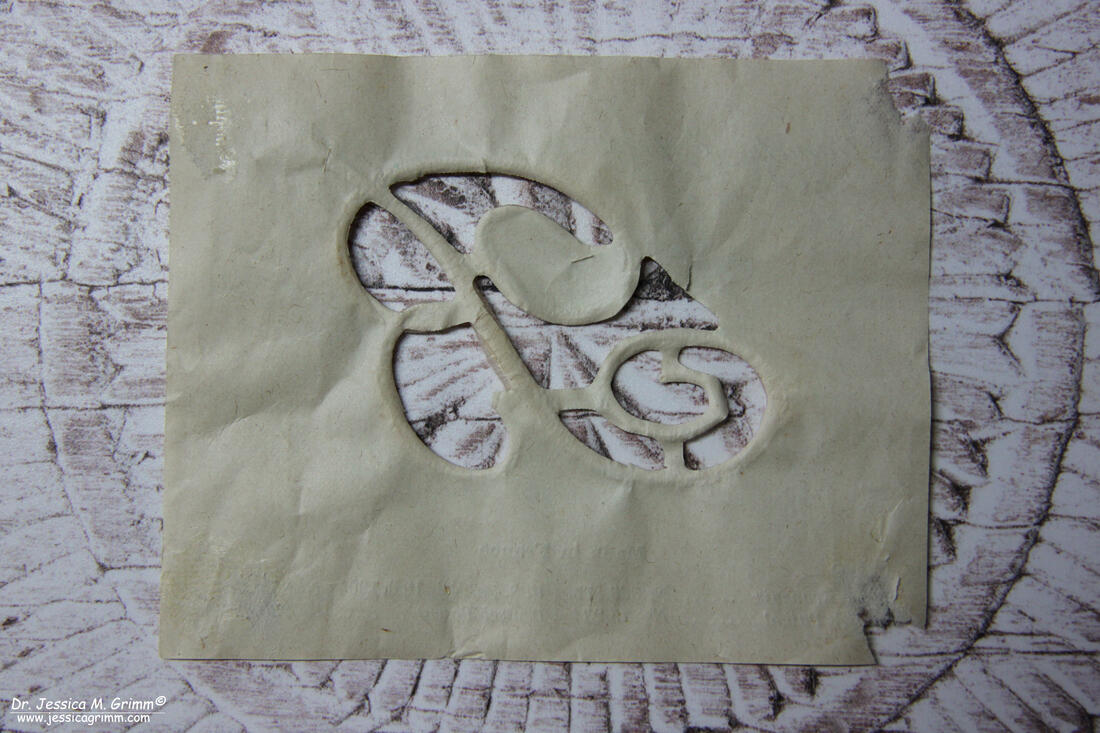 Plumetis Express Monogram Now that I knew that these monograms are not at all rare, I really wanted to try to use my B! I started by removing the blue backing paper. This is what the thing now looks from the back. The monogram measures 7,8x5,4cm and rises to about 3mm in height at the plumpest parts. 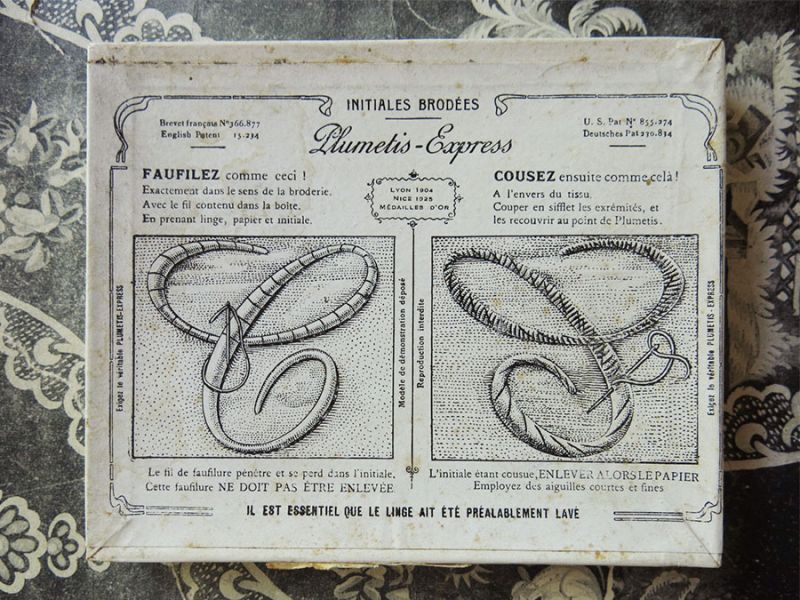 Plumetis Express Monogram Now, what is one supposed to do with these monograms? Luckily, some of these monograms have the instructions printed on them. One version goes like this: Ne pas decoller de la feuille support. Faufilez exactement dans le sens de la broderie en prenant initiale papier et linge. Cousez ensuite à l'envers du tissu à points de surjet avec une aguille fine. Ne pas enlever la faufilure. L'initiale étant cousue enlever le papier. and the other like this: Faufiler le tulle supportant la letter sur le tissue à la place exacte que devra occupier la letter. Par intervalles rapprochés, faufiler la letter. Déchirer et enlever le tulle, arrêter solidement les extrémités de la lettre et finir de la fixer en cousant à l’envers de l’étoffe à points de surget, en ayant soin de bien pendre toule la lar geur de la letter. Nota – Si le linge est neuf, le mouiller afin d’éviter tout gondolement qui pourrait resulted du retrait de la toile. Pour la couture de ces lettres, employer des aiguilles courtes et fines. Although I had french in school and in later life even took classes at the Open University, I couldn't quite understand what they were going on about. Feeding the text to Google Translate doesn't help either, but will probably make you roar with laughter (it works equally 'well' for translations into EN, DE or NL!). Luckily, the original boxes these monograms came in, had instructional pictures with the text. The above picture comes from a Japanese website who sold these monograms at some point. A quick chat with Friar Markus, who grew up in Saarland near the French border, confirmed that by now I probably knew how to do this... 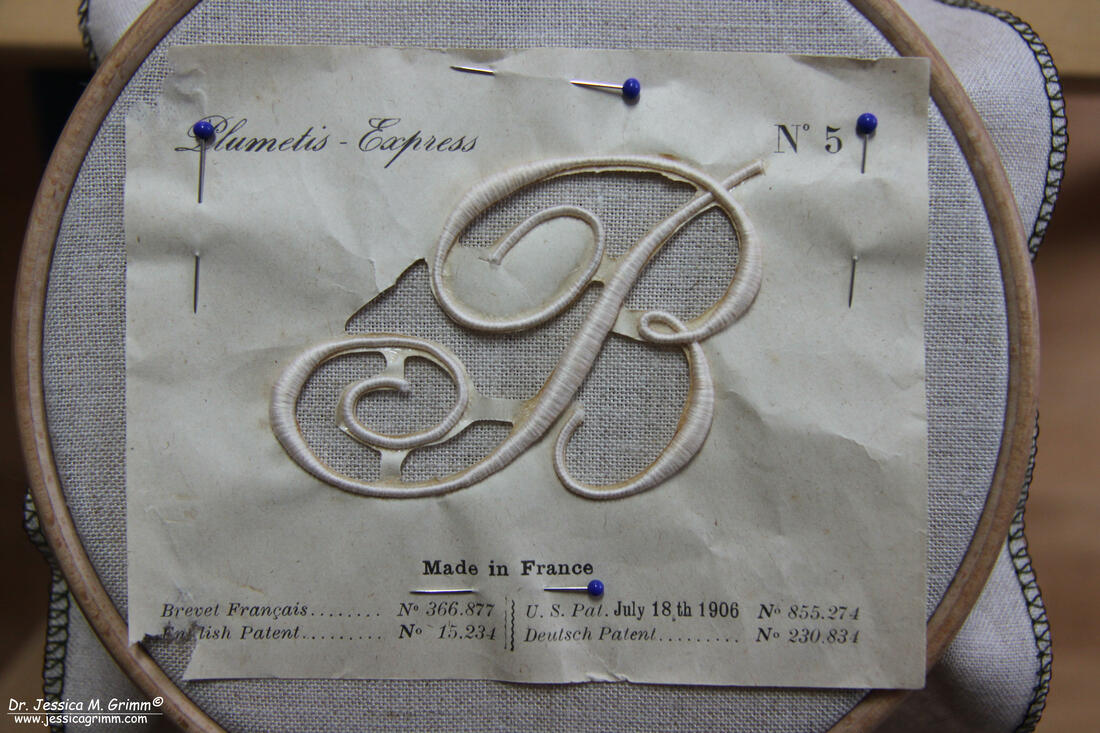 Plumetis Express Monogram One starts by washing the linen fabric (I am using my favourite: Zweigart 40ct Newcastle) the monogram will be attached to. Omitting this pre-shrinking will result in wrinkles as soon as the finished piece is laundered. Then one arranges the paper onto the linen and presumably pins in place. So far so good! Now I ran into a problem. According to the instructions I should use the yarn from the box the monogram came in... Bummer. Reading the rest of the instructions, I came to understand that the yarn in the box probably was the same as used for the monogram in the first place. The instructions say that one should place one's stitches in such a way that they fall in line with the thread direction of the monogram. Aha! Let's see if my stash harbours a yarn similar to the stuff used for the monogram. I ended up picking Gütermann Polyester sewing thread Col. 1. Although it seems that the original yarn used is even a bit finer, the Gütermann isn't a bad match. The monogram has aged and stained, so in some places, the Gütermann will be too white. Alas, it is a strong polyester thread and I have a feeling I will need its relative strength compared to cotton or silk. Because the instructions say that I should stitch through the edges of the monogram, the paper and the linen background fabric! I should use a short and sharp needle for the task. I'll better also wear a thimble :).
Now let's do as the picture says. It is actually quite easy to pierce through the paper and the monogram. Only the ends unravel a bit. But this might be due to ageing.
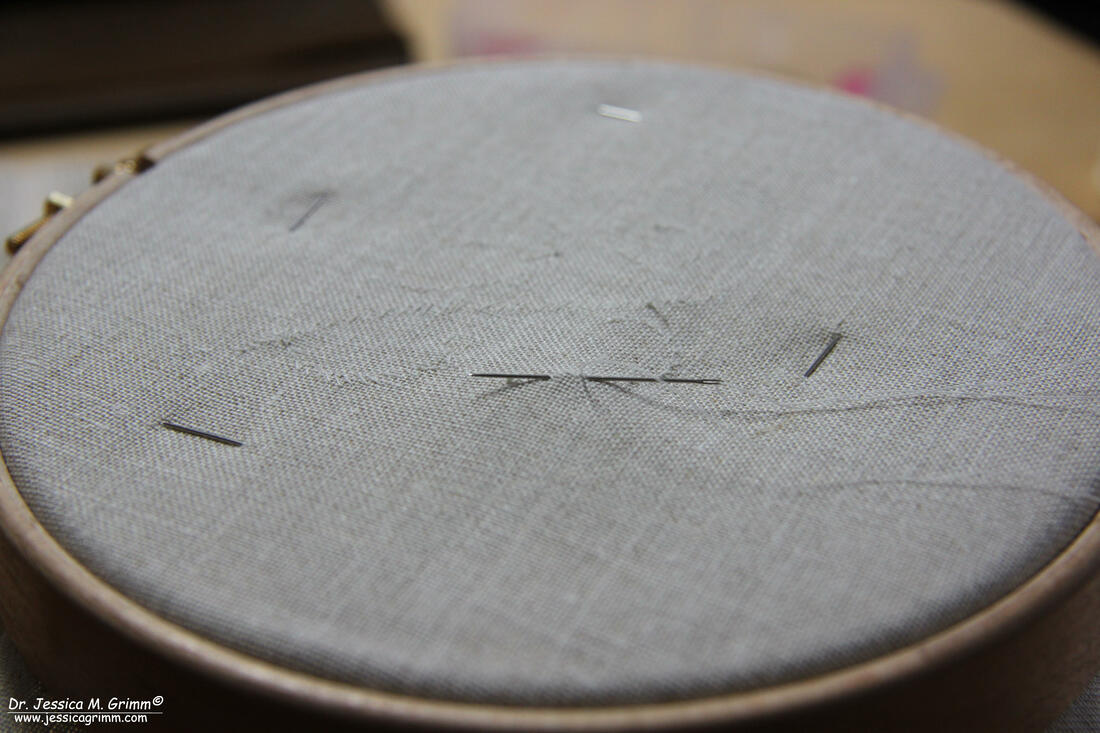
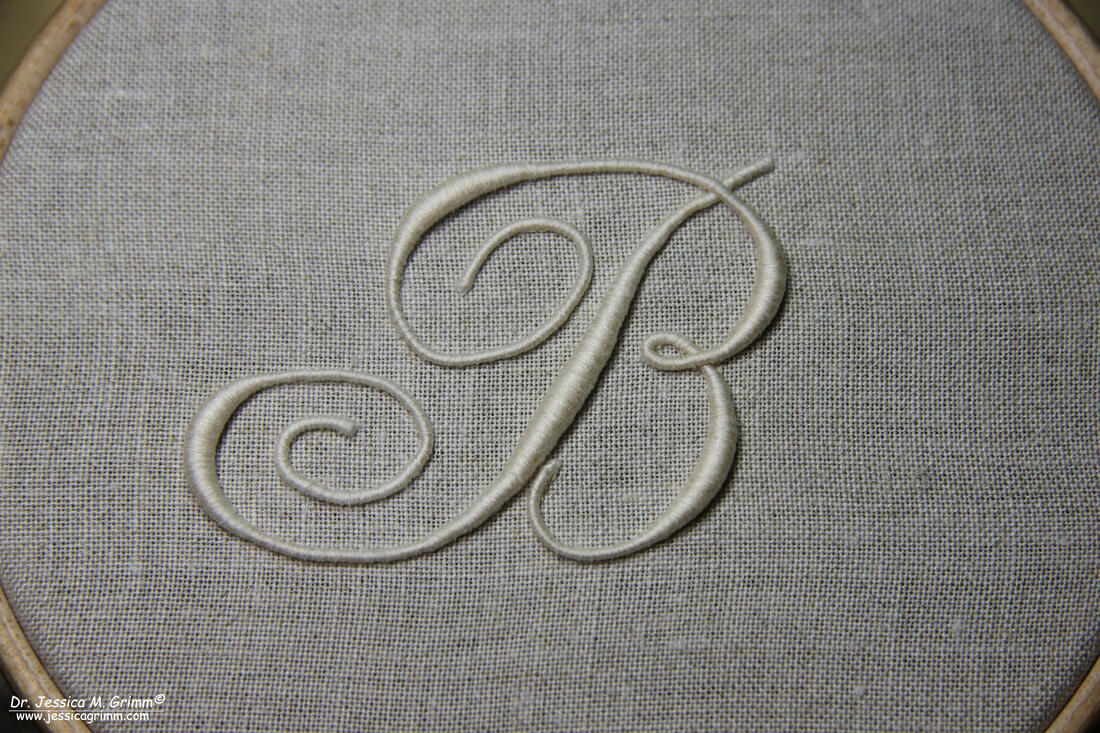
In the next step, we'll turn the work and work from the back. With small stitches, we secure the initial even further. This step was rather difficult and really hard on the fingers. Changing to a curved needle did help a little. But especially the thinner parts of the monogram were quite difficult to 'catch' from the back. 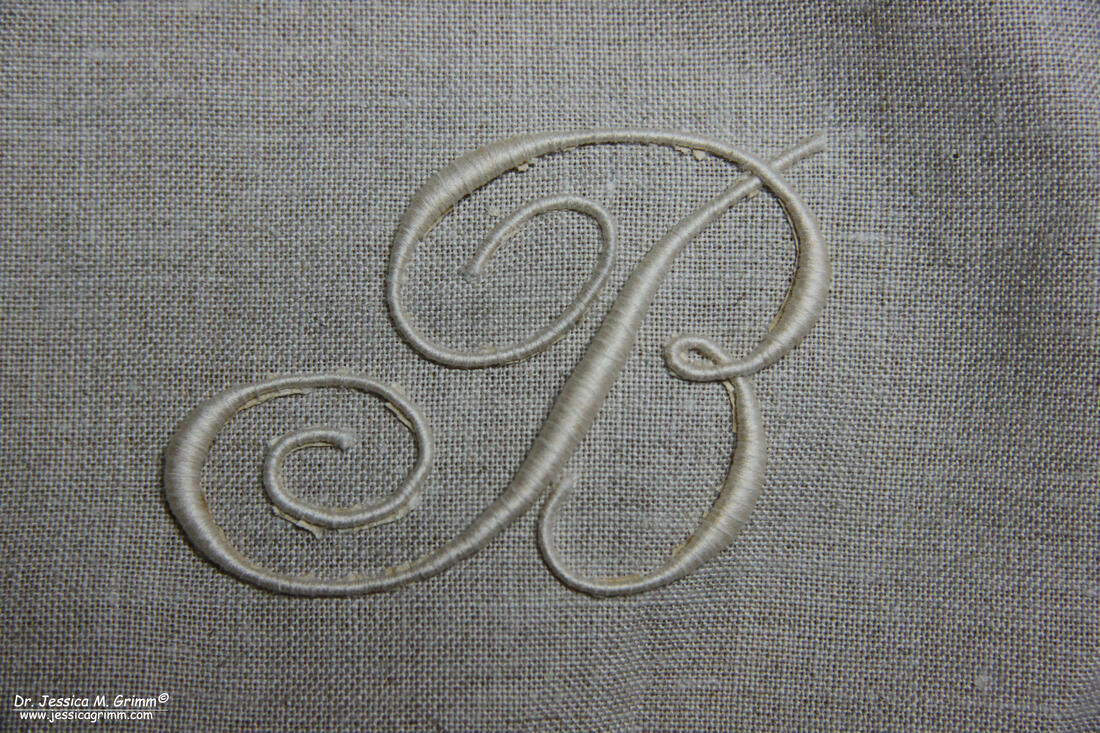 Plumetis Express Monogram Now it was time to remove the paper. That didn't go well. Short pieces soaked in glue close to the initial were almost impossible to remove. Tweezers and a magnifier didn't help much either. I ended up hand-washing the piece with a little clear dishwashing liquid and scratching the paper away with my nails as best as I could. I assume that either the paper came off much better when the initial was first produced or the little bits of paper didn't bother too much as they would probably come off after a few laundry cycles.
The difficulties to remove the paper resulted in some of my stitches having snapped. I ended up carefully removing them and securing the loose parts of the monogram again. By now I am not sure if the additive Express is very appropriate for this Plumetis Monogram...
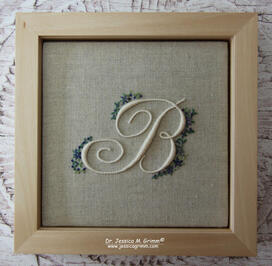
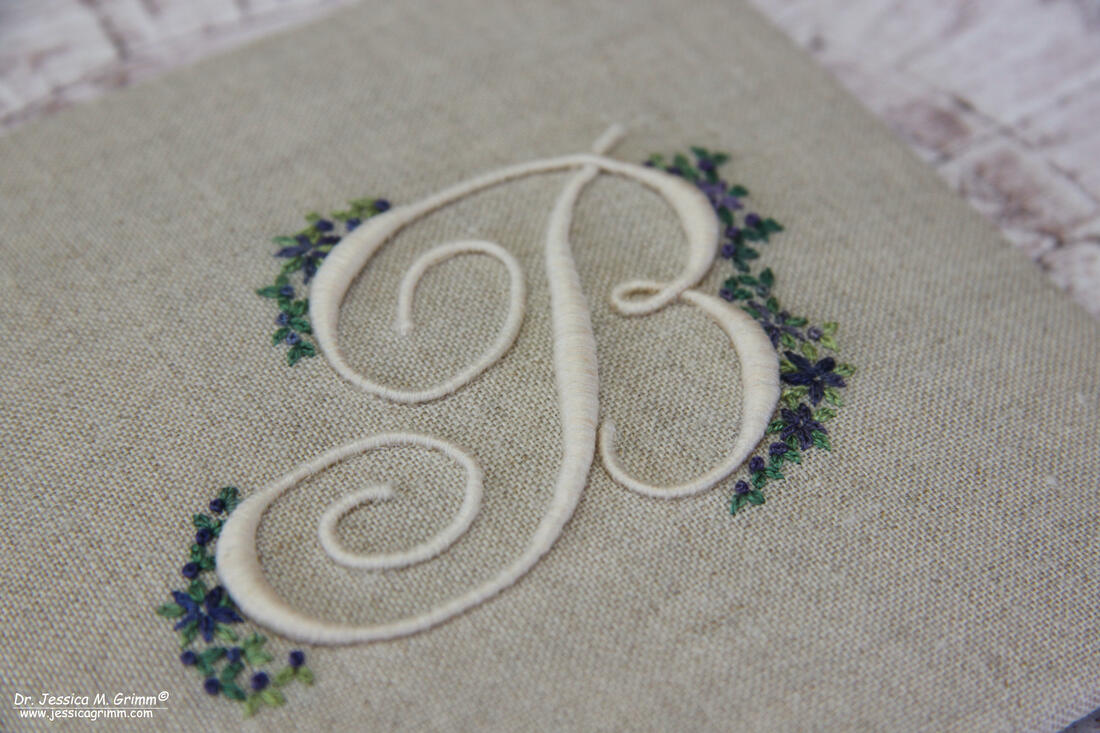
Once the monogram was secure again, I decided to embellish it further with some simple flower embroidery. After all, there is not a whole lot of embroidery going on in a Plumetis Express. I used a lovely variegated silk thread by Caron called Black Iris. My flowers were stitched with two strands using detached chain stitch and French knots. As the variegation is distinctively either greens or purples, it worked very well for the petals and the leaves.
I hope my blog post has inspired you to pick up one of these vintage monograms yourself! Mounted and framed they make for stylish French-style embroideries on your wall. P.S. One thing remains: how were these monograms made? Surely they are machine made. But how did that work? If you have the answers, please comment below!
12 Comments
Nancy Anne White
5/3/2019 15:54:42
What an exquisite monogram. But such a lot of work it would almost seem easier to stitch this yourself. I love the your embellished look of the B. 5/3/2019 16:29:00
That's what I started to think after the first hour too, Nancy Anne!
Joyce Bargh
5/3/2019 16:23:02
FANTASTIC POST
Sue Cork
5/3/2019 17:03:47
Lovely article, I really enjoyed reading that. I also wondered as it is so old, maybe it is out of copyright, if anyone wants to trace your photos and do their own all hand version? 5/3/2019 17:34:19
Thank you Sue! I think they might be out of copyright, but it would be easier to just search the Antique pattern library for this type of monograms. I am not planning on doing more :). I did find some for sale on Ebay. Just type plumetis express in the search bar and they will show up. They all seem to be located in France.
Terri Patterson
5/3/2019 17:46:01
Very interesting! Thanks for sharing!! 5/3/2019 19:08:40
Thank you Rachel! I especially loved all the "sneaking" in the translations :).
Ann
6/3/2019 22:28:16
Hello Jessica 7/3/2019 16:01:41
Oh, how wonderful Ann! Do share a picture when you have done yours. I would love to feature it on my blog :). And I am curious what you think about the how it was made once yours arrives! Your comment will be posted after it is approved.
Leave a Reply. |

Want to keep up with my embroidery adventures? Sign up for my weekly Newsletter to get notified of new blogs, courses and workshops!
Liked my blog? Please consider making a donation or becoming a Patron so that I can keep up the good work and my blog ad-free!

Categories
All
Archives
July 2024
|


 RSS Feed
Contact: info(at)jessicagrimm.com
Copyright Dr Jessica M. Grimm - Mandlweg 3, 82488 Ettal, Deutschland - +49(0)8822 2782219 (Monday, Tuesday, Friday & Saturday 9.00-17.00 CET)
Impressum - Legal Notice - Datenschutzerklärung - Privacy Policy - Webshop ABG - Widerrufsrecht - Disclaimer
Copyright Dr Jessica M. Grimm - Mandlweg 3, 82488 Ettal, Deutschland - +49(0)8822 2782219 (Monday, Tuesday, Friday & Saturday 9.00-17.00 CET)
Impressum - Legal Notice - Datenschutzerklärung - Privacy Policy - Webshop ABG - Widerrufsrecht - Disclaimer