|
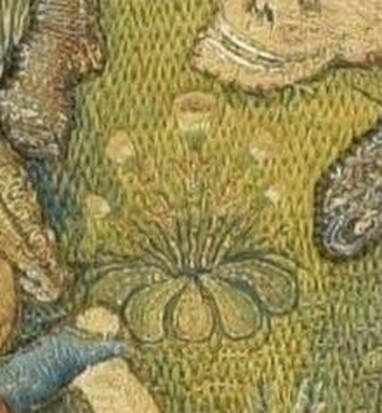
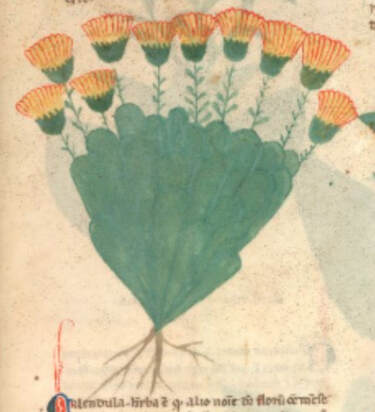
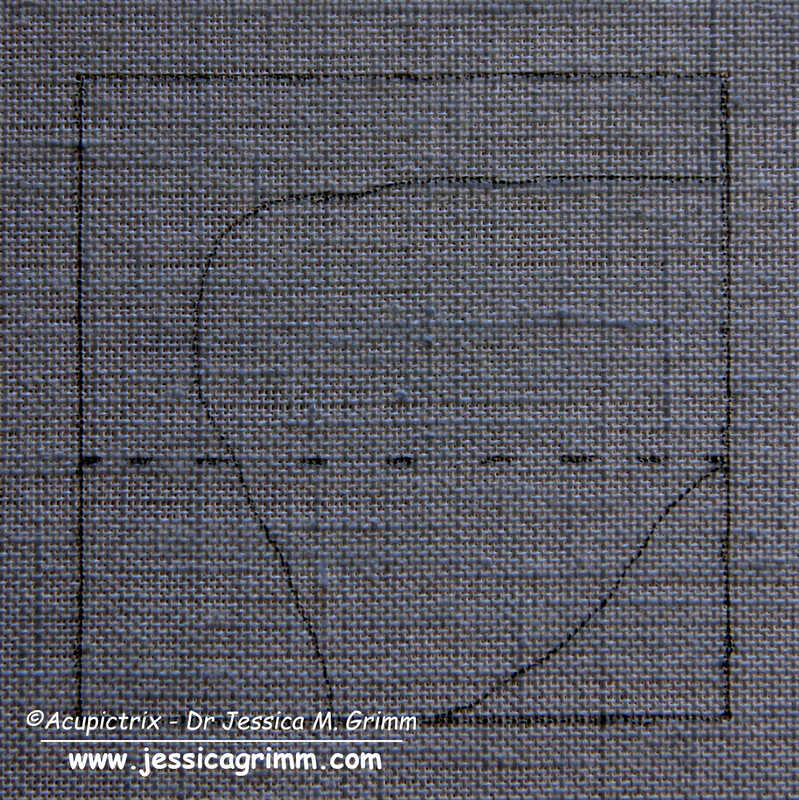
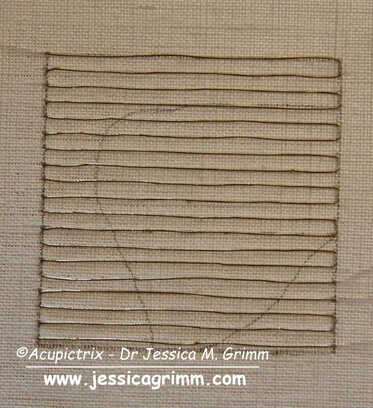
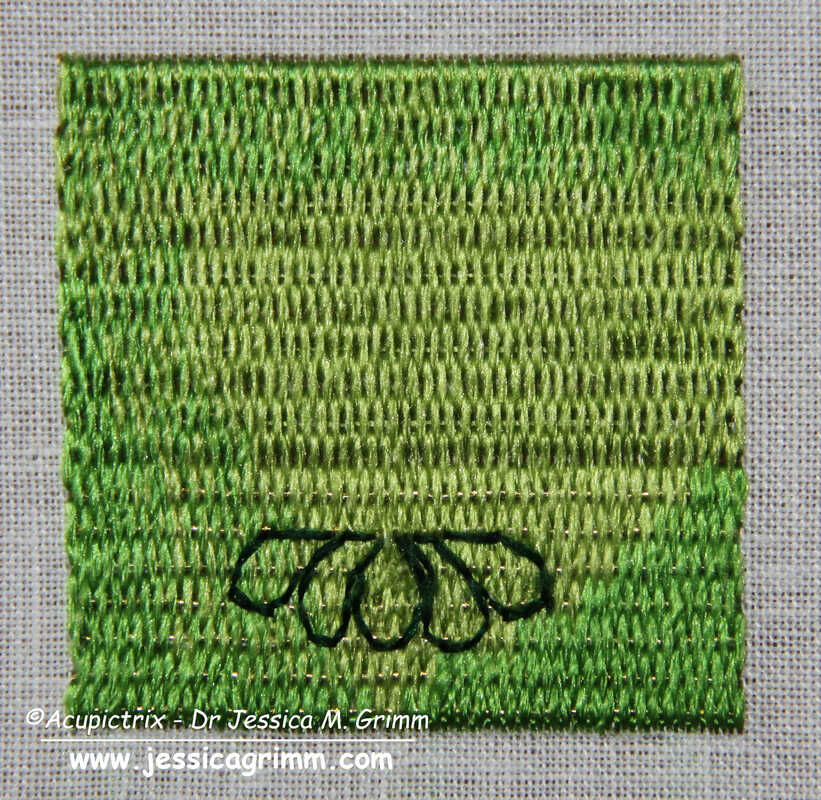
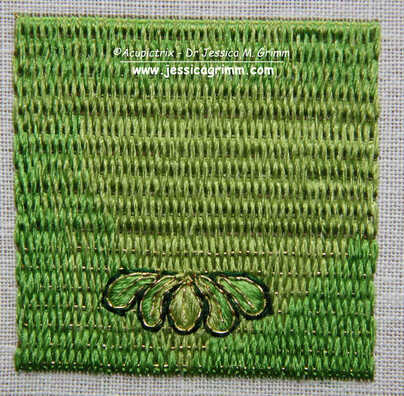
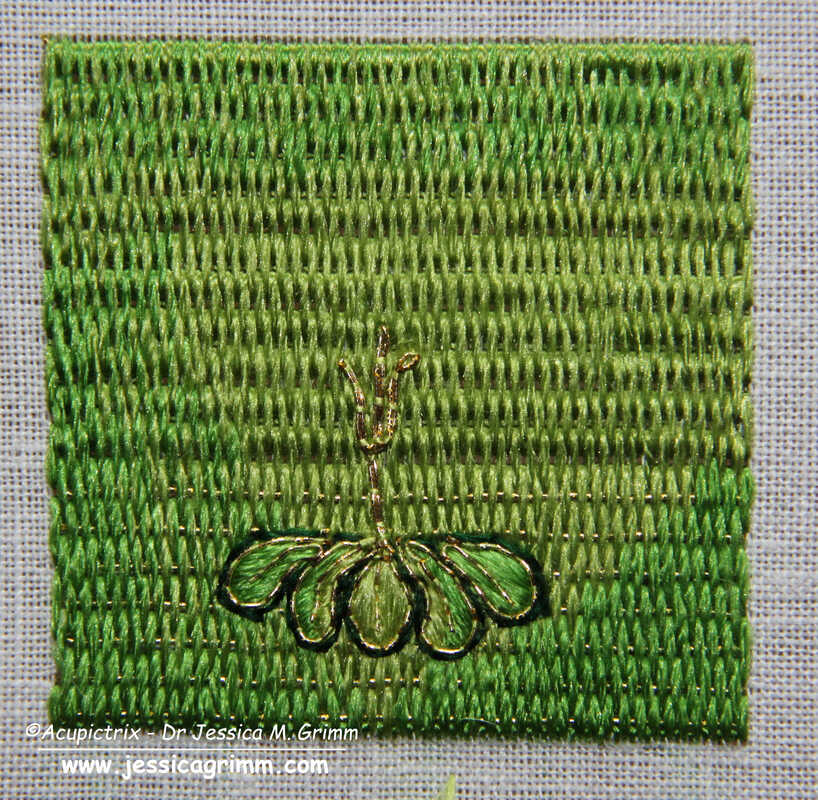
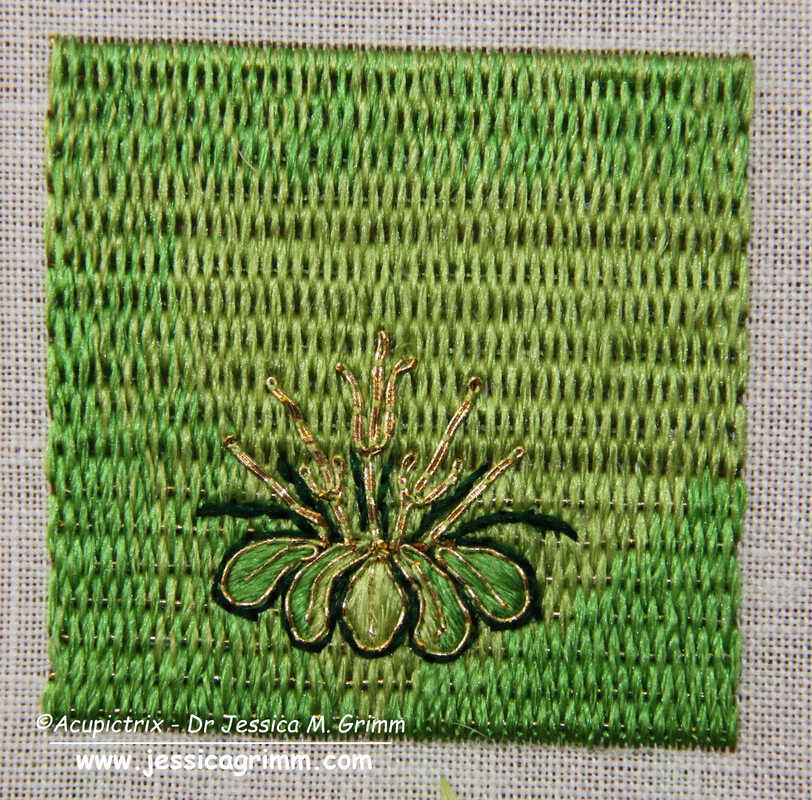
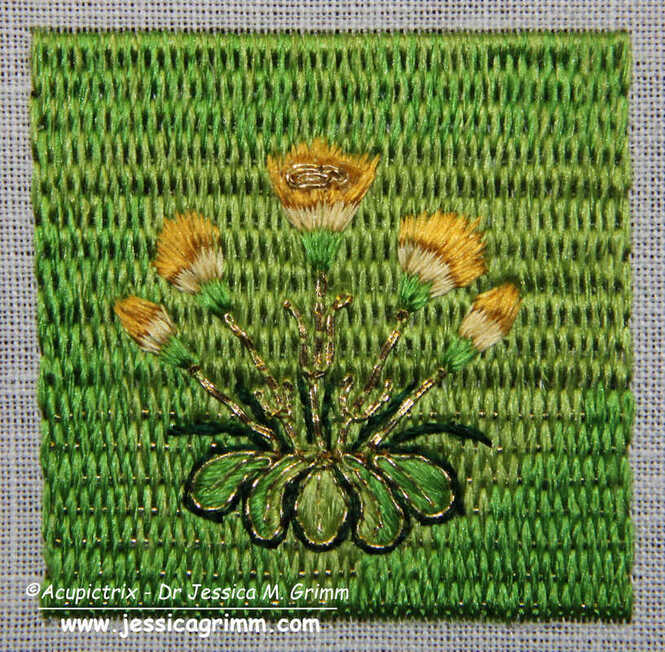
We have been exploring the embroidery and the iconography on the lone cope hood from the V&A (990-1888) in the past two weeks (part 1 & part 2). This week, I'll show you how to work a small embroidery sample based on one of the flowers seen on that cope hood. It is an exercise in both counted threadwork and free-hand embroidery. It also teaches you to work goldwork embroidery on top of a base layer of goldwork embroidery. This was common practice in late-medieval goldwork embroidery. It is often done to hide the ends/turns of gold threads and it adds some depth. Below is a summary of how the sample was probably originally stitched. Journeyman and Master Patrons can download a 9-page PDF with detailed instructions. My clever husband happened to have a book on medieval flowers and was able to identify one of the flowers on the original cope hood as marigolds. The Egerton Manuscript from c. AD 1300 (MS 747, f. 30r) shows a drawing of the marigold that is quite comparable to the embroidered version. The embroidered version is about 3,5 cm high, and the detail is amazing. As you can see in the original, the marigolds are stitched on top of a layer of Brick Stitches (upper part) and Burden Stitch (lower part). These are both counted thread techniques. The foundation thread for the Burden Stitch (a passing thread) also runs under the Brick stitches. It is just being ignored. It is needed under the Brick stitches as padding. If you omit it, this section will be flatter compared to the Burden stitches. As the gold thread is (nearly) completely covered by the Brick stitches it shows that the price of gold thread had come down considerably by the end of the medieval period. Start your sample by drawing a 5 x 5 cm square on the grain of the fabric. You can also add guidelines for the shading and for when you want to change from Brick to Burden stitch. I am using a 46 ct linen, Stech vergoldet 80/90 (comparable to passing thread #4) and Chinese flat silk from Oriental Cultures. Start by laying the passing thread foundation. My passing threads are spaced 5 fabric threads apart. Once your base layer of Brick and Burden stitches is in, the fun free-hand part begins! And this is where each sample will become truly unique. Start with outlining the five green leaves. I've used a simple back stitch, but you can also use stem stitch. These are then filled with a few satin/straight stitches. On top comes an outline and vein (stitched in one go) in couched gold thread. Next up are the stems. They are made of gold thread. Start at the top (where the flower attaches) and separate the two threads to form a leaf on either side of the stem. Re-unite the threads again to form the bottom of the stem. Add dark green stems for a bit more definition. I've used stem stitches. The flower heads are stitched in long-and-short stitches (i.e. split your stitches). Start with the green bits at the bottom. Then add the light-yellow bottoms of the petals and end with the dark yellow tops. The central flower gets a flower heart made of a couched piece of gold thread. And that's your marigolds finished! Mine turned out more like dandelions ...
One of the things that amazed me when I was whipping up this embroidery sample, is the fineness of the original embroidery. My rendition looks bulky in comparison. Another hint that the original cope hood was once part of a very high-end vestment intended for an important clergyman and/or church! Literature Fisher, C., 2007. The Medieval Flower Book. The British Library, London.
1 Comment
|
Want to keep up with my embroidery adventures? Sign up for my weekly Newsletter to get notified of new blogs, courses and workshops!
Liked my blog? Please consider making a donation or becoming a Patron so that I can keep up the good work and my blog ad-free!
Categories
All
Archives
July 2024
|
Contact: info(at)jessicagrimm.com
Copyright Dr Jessica M. Grimm - Mandlweg 3, 82488 Ettal, Deutschland - +49(0)8822 2782219 (Monday, Tuesday, Friday & Saturday 9.00-17.00 CET)
Impressum - Legal Notice - Datenschutzerklärung - Privacy Policy - Webshop ABG - Widerrufsrecht - Disclaimer
Copyright Dr Jessica M. Grimm - Mandlweg 3, 82488 Ettal, Deutschland - +49(0)8822 2782219 (Monday, Tuesday, Friday & Saturday 9.00-17.00 CET)
Impressum - Legal Notice - Datenschutzerklärung - Privacy Policy - Webshop ABG - Widerrufsrecht - Disclaimer



 RSS Feed